OPAS:Accounting/Importing Bank Statements
As an alternative to manually entering and reconciling transactions in the OPAS ledger to the bank statement, you can import the bank data from a download generated in your online banking website which will facilitate the auto-matching of transactions on the reconciliation and ensure standing orders and direct debits appear on the ledger with the correct dates.
Currently supported banks are:
- NatWest
- Royal Bank of Scotland (RBS)
- Lloyds (business banking accounts only)
- Bank of Scotland
The Bank Import feature only supports CSV files. Please make sure you select the correct export options in your banking website.
Please check with your Diocesan Support Team for what periods you should regularly reconcile your statements - commonly to the end of each calendar month.
Prerequisites
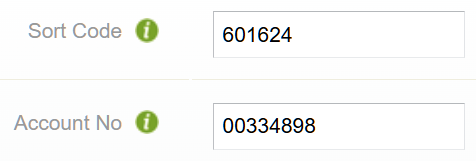
In order to use this feature, you must make sure your bank accounts have a correct Account Number and Sort Code on OPAS.
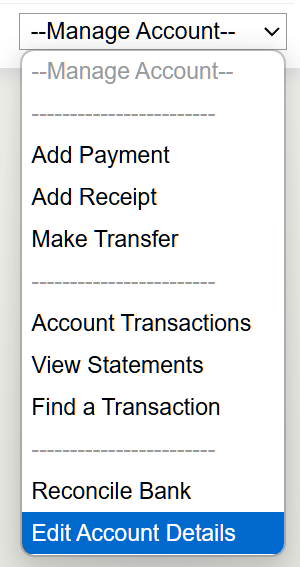
Please go to Bank Accounts > Accounts and confirm the account number and sort code have been correctly entered. Please contact your Diocesan OPAS Administrator to ensure your Parish bank details are correct.
Please make sure all your bank accounts have unique account numbers.
How To Import Bank Statements?
In order to use the Import Bank Statements facility, an administrator in your Diocese needs to enable this for your parish.
You can access the bank import page via the main menu - Bank Accounts > Import Bank Statements. If your Parish has more than one bank account you will need to select which account are you importing data to.
On this screen you can upload a bank statement by first choosing a file from your computer, and then clicking Upload.
Please note ONLY CSV files are supported.
Below you can also see a list of previously uploaded statements, if any. You can click the Reconcile button to resume the reconciliation of that statement.
Reconciling a Bank Statement
Once you have successfully uploaded a statement, you will be presented with a list of transactions from the statement and possible reconciliation options:
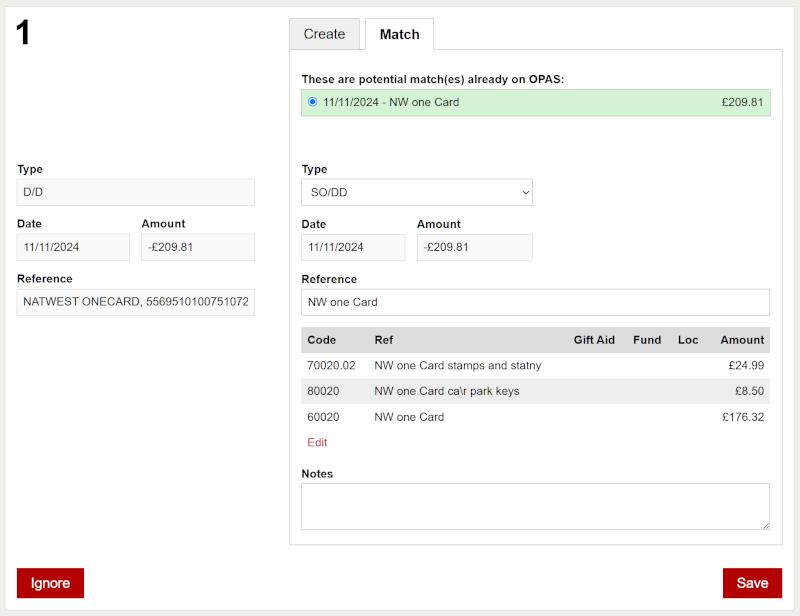
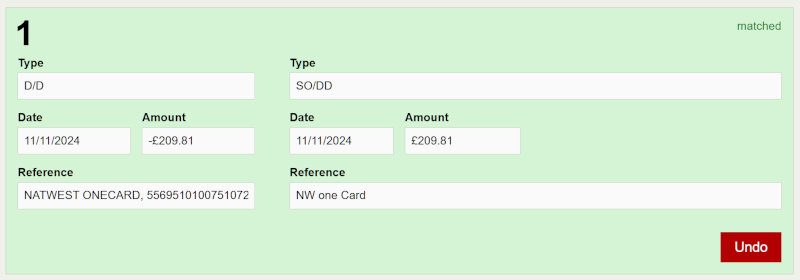
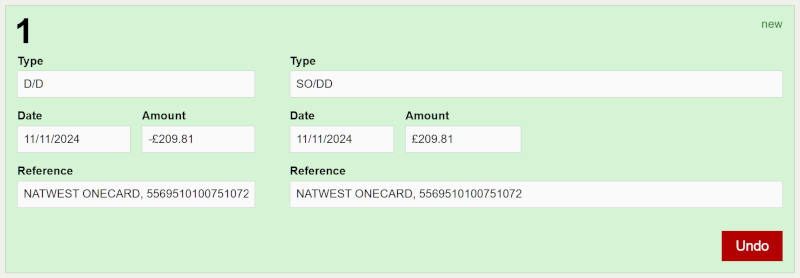
The transaction information from the statement is presented on the left and the possible reconciliation options are presented on the right.
For each line on your bank statement:
- If OPAS finds an existing OPAS transaction that may match the bank import transaction, it will suggest the match(es)
- You can then either
- Match the line with an existing OPAS transaction - Match
- Reject the suggested match and create a new OPAS transaction - Create
- If OPAS cannot find a likely match, you can only create a new OPAS transaction - Create
This process is explained in more detail below.
Match An Existing OPAS Transaction
If any possible matches are found you will see a list from which you can select the correct transaction:
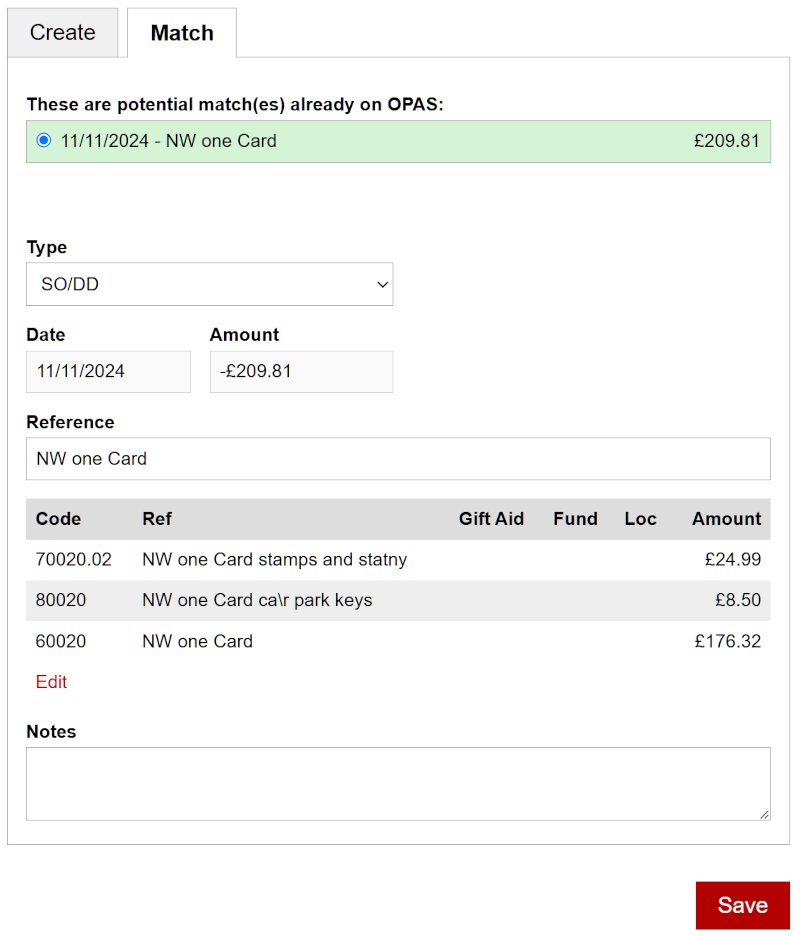
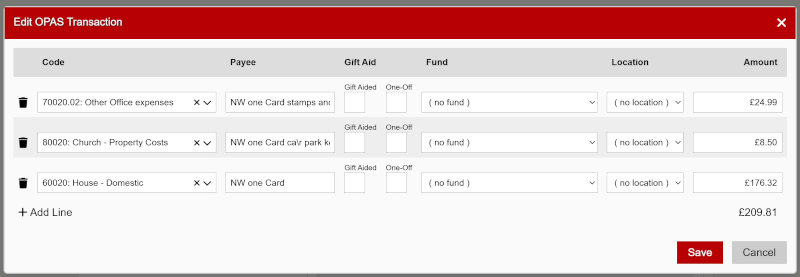
If you spot any inconsistencies on the OPAS transaction, you can edit the matched transaction using the fields available. If the transaction has multiple lines, you can edit each line by clicking the Edit button below the lines:
If the date in the statement line and the date in the OPAS transaction do not match, once the statement is reconciled, the OPAS transaction will be updated to the date in the statement - Please note this will not happen for Cheques or Cash.
Once you are happy with the match, please click the Save button. This will mark the transaction as being ready to reconcile:
Furthermore, if the same OPAS transaction was found to be a match to more than one line on the statement, this match will be locked out of any other lines:
If no matches are found, before considering creating that transaction on OPAS, please make sure that it doesn't exist already and the mismatch was due to a different reference.
Create a new OPAS Transaction
Please note that all Gift-Aid standing orders must be set-up as recurring entries in OPAS to ensure they can be correctly allocated to the donor record.
You can create a new OPAS transaction using the data from the statement:
If you wish to add more lines to this transaction, please use the Click here… link:
Once you are happy with the match, please click the Save button. This will mark the transaction as being ready to reconcile:
Ignoring a Transaction on the Statement
There will be some cases where you will be unable to match or create a transaction. Some examples are:
- A single transaction on the statement matches more than one OPAS transactions
- Multiple transactions on the statement match a single/split OPAS transaction
- A bank transfer on the statement matches an OPAS non-transfer transaction
- A non-transfer transaction on the statement matches an OPAS bank transfer
For such cases you would need to reconcile these particular OPAS transactions/bank transfers using the classic Reconcile The Bank page.
OPAS will indicate that these transactions still need to be reconciled. You can instruct the system to ignore them by clicking the Ignore button. This will mark the transaction as ignored:
You will need to click Cancel Ignore if you wish to reconcile the transaction at a future date.
Ignoring a transaction or canceling is applied immediately - you do not need to reconcile the statement.
Committing the Reconciliation
Once you have saved at least one statement line, the Reconcile button will be enabled in the top bar:
Please check that the Statement Number and Reconcile Up To date are correct.
The Reconcile Up To date should be the same date you entered when creating the CSV in your bank website - even if there are no transactions right up to that date.
The exception to this should be when you are only reconciling part of the statement, in which case you should set the Reconcile Up To date to match the most recent transaction you are reconciling.
Please check with your Diocesan Support Team for what periods you should regularly reconcile your statements - commonly to the end of each calendar month.
Once you are ready, click the Reconcile button.
You do not need to reconcile the entire statement in a single session. If you only reconcile part of the statement, you can return to this page and resume work by clicking the statement on the previously uploaded list:
